Teeth Straightening Guide: Get a Confident Smile with Professional Tips & Full Process
When we think about teeth straightening, most of us have the same worries: What’s the right treatment plan for me? How do I pick a reliable orthodontist without stress? And how can I budget for it without breaking the bank? Teeth straightening isn’t just about getting straighter teeth—it’s about improving your bite, protecting your oral health, and feeling proud to smile, speak, and connect with others every day. This guide walks you through the entire process, whether you’re a teen or an adult. We’ll break down everything from the initial consultation and assessment, to choosing between traditional braces and clear aligners like Invisalign, tracking your progress, and maintaining your results long-term. We’ll also share practical tips for selecting the right orthodontist, planning your budget wisely, and avoiding common pitfalls. Let’s help you get the confident smile you deserve.
1. The Teeth Straightening Journey: From Consultation to Aftercare
Teeth straightening is a long-term commitment, but understanding each step makes the process smoother and less stressful. Below is a detailed breakdown of the core stages, tailored for both teens and adults.
1.1 Initial Consultation & Assessment
The first step is a comprehensive consultation with an orthodontist—this is where your personalized journey begins. Before your visit, take a few minutes to note down your dental history, any medications you’re taking, and your main goals (like fixing crowding, closing gaps, or improving your smile for work or social events).
Here’s what to expect during the consultation:
First, the orthodontist will do a thorough oral exam to check your tooth alignment, bite (including overbites, underbites, or crossbites), and gum health. They’ll then take panoramic X-rays, lateral head films, and sometimes 3D scans or impressions to get a clear view of your jaw structure, tooth positions, and any hidden issues like impacted teeth.
For teens, since the jaw is still developing, the orthodontist may recommend early intervention with functional appliances to guide jaw growth—this can make treatment faster and more effective. For adults, the focus is on creating a balanced, natural-looking smile that fits your lifestyle, whether you’re busy with work, school, or family.
1.2 Choosing Your Treatment Plan: Traditional Braces vs. Clear Aligners
Your orthodontist will recommend options based on your unique case, budget, and daily routine. Here’s a straightforward comparison to help you decide:
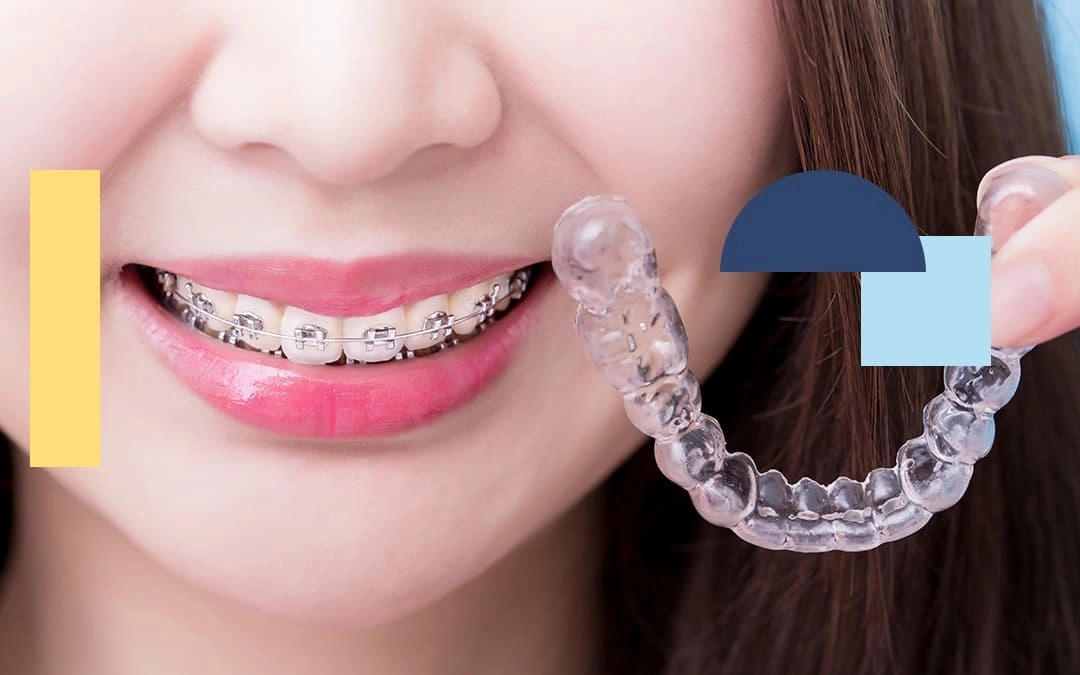
Traditional Braces (Metal or Ceramic)
Traditional braces use brackets bonded to the front of your teeth, connected by wires that are adjusted periodically to gently shift teeth into place. They’re available in metal (more durable, budget-friendly) or ceramic (less visible, blending with your teeth).
They’re best for severe crowding, complex bite issues, or cases that need precise control over tooth movement. The pros? They’re highly effective, often have shorter treatment times for severe cases, and are more affordable for many people. The cons? They’re more visible, can irritate your cheeks or gums initially, and require extra care when brushing to avoid stains or plaque buildup.
Clear Aligners (Invisalign & Similar Brands)
Clear aligners are custom-made, removable trays that fit snugly over your teeth. You switch to a new set every 1–2 weeks as your teeth gradually shift into place. They’re nearly invisible, making them a popular choice for anyone who wants discretion.
They’re ideal for mild to moderate cases, like minor crowding or gaps. The pros? They’re removable for eating, brushing, and flossing, making oral care easier, and they’re comfortable with no wires or brackets to irritate your mouth. The cons? They require strong compliance—you need to wear them 22+ hours a day to see results—and they’re often more expensive upfront, with longer treatment times for severe cases.
1.3 Progress Tracking & Adjustments
Once your treatment starts, regular follow-ups are key to staying on track. You’ll typically visit your orthodontist every 4–8 weeks for adjustments.
For traditional braces, the orthodontist will tighten wires or replace brackets to keep your teeth moving in the right direction. For clear aligners, they’ll check your progress, answer any questions, and give you the next set of trays. Many practices also offer smartphone apps or online portals to send progress photos, receive reminders, and get quick answers to small questions—making it easier to stay motivated.
If you experience severe pain, broken brackets, loose wires, or lost aligners, don’t wait for your next visit—contact your orthodontist’s office right away. Small issues can turn into bigger delays if left unaddressed.
1.4 Aftercare & Retention
Treatment doesn’t end when you take off your braces or aligners—retention is crucial to prevent your teeth from shifting back. Here’s what you need to know:
Most people wear a removable retainer (clear or wire-based) every night for the first 6–12 months. After that, you’ll likely switch to part-time wear (3–4 nights a week) to maintain your results long-term. Some people also get a fixed retainer—a thin wire bonded to the back of their front teeth—for extra stability, often paired with a removable retainer.
Daily oral care is just as important after treatment. Brush and floss regularly, and for clear aligners, rinse them with cool water before reinserting (hot water will warp the plastic). If you had braces, be extra gentle when brushing the areas where brackets were bonded to avoid damaging your tooth enamel.
2. How to Choose a Reliable Orthodontist
Picking the right orthodontist is one of the most important decisions you’ll make—after all, you’ll be working with them for 1–3 years. Here are three key factors to look for:
2.1 Experience & Communication
Choose an orthodontist who listens to your goals and explains your options in simple terms—no confusing jargon. Ask about their experience with cases similar to yours (like teen crowding or adult overbites) and request before-and-after photos to see their work. A good orthodontist will never rush you into a decision; they’ll take the time to answer all your questions.
2.2 Transparent Pricing
Always ask for a detailed breakdown of costs, including exams, imaging, treatment, retainers, and emergency visits. Avoid practices that hide fees or pressure you into expensive add-ons. Most offices will provide a written estimate so you know exactly what to expect.
2.3 Accessibility & Support
Look for an office with flexible hours that fit your schedule—early mornings, evenings, or weekends are a plus. Check if they offer emergency care for broken braces or lost aligners, and if their team is easy to reach via phone or email. A supportive office will make the long journey feel much easier.
3. Budgeting Tips for Teeth Straightening
Teeth straightening is an investment in your smile and oral health, but it doesn’t have to break the bank. Here are three smart ways to plan your budget:
3.1 Check Your Insurance Benefits
Many insurance plans cover a portion of teeth straightening costs, especially for teens or medically necessary treatments (like fixing a severe bite that causes pain). Contact your insurance provider to ask about your coverage, maximum benefits, and how to file a claim.
3.2 Take Advantage of Payment Plans
Most orthodontic offices offer interest-free payment plans that let you spread the cost over 12–24 months. This can make treatment more affordable by breaking it into small, monthly payments. Some offices also offer discounts for paying upfront or for family members getting treatment together.
3.3 Prioritize Value Over Price
Cheaper isn’t always better. A skilled orthodontist with a proven track record can prevent costly redo treatments later. Don’t sacrifice quality for a lower price—your smile is worth the investment.
4. Important Notes to Avoid Pitfalls
To ensure a smooth, successful teeth straightening journey, keep these tips in mind:
Always work with a licensed orthodontist, not a general dentist—orthodontists have specialized training to handle complex cases. Be honest about your habits (like teeth grinding or frequent snacking) so your orthodontist can create a realistic plan. For teens, talk to your orthodontist about how braces or aligners will fit with school activities or sports.
Stick to your treatment plan—skipping aligner wear or missing复诊s can delay results and increase costs. And don’t forget about retention—wearing your retainer as directed is the only way to keep your new smile for years to come.
Final Thoughts
A straight, healthy smile is within reach for everyone—teens and adults alike. By understanding the consultation process, choosing the right treatment plan for your needs, working with a reliable orthodontist, and planning your budget wisely, you can turn your smile goals into reality.
The first step is the hardest, but it’s also the most rewarding. Whether you’re a teen ready to embrace a new smile or an adult looking to boost your confidence, take that first step—your future self will thank you.